 George Chandra Eka
The ability to format a storage drive is a foundational skill for any computer user, extending far beyond the simple act of deleting files. While often perceived merely as a method to clear unwanted data, formatting is a critical process for ensuring data integrity, resolving compatibility issues, enhancing device performance, and even bolstering cybersecurity. It systematically prepares a storage device for optimal use, effectively resetting it to a "like-new" state by structuring its file system, scanning for and isolating problematic sectors, and thoroughly eradicating residual data. This comprehensive guide will delve into the intricacies of USB drive formatting on Windows, exploring the underlying principles, the various file systems available, and a step-by-step methodology to execute the process effectively.
The Indispensable Role of Formatting in Data Management
Formatting a USB drive is a multifaceted operation that involves several key procedures. At its core, it reorganizes the drive’s file system, which is the method by which an operating system organizes and manages files on a storage device. This reorganization is paramount for several reasons:
Firstly, it addresses data corruption. Drives can become corrupted due to abrupt disconnections, power outages during write operations, software glitches, or even physical degradation. When a drive’s file system is corrupted, files may become inaccessible, and the drive itself might fail to mount or appear correctly in the operating system. Formatting rebuilds this file system from scratch, often resolving such issues and restoring the drive’s functionality. Statistics from data recovery services indicate that a significant percentage of minor drive failures are rooted in file system corruption, many of which can be resolved through a proper format.
Secondly, formatting plays a crucial role in data security and privacy. A simple deletion of files on a drive does not permanently remove them; it merely marks the space they occupied as available for new data, making the original files recoverable with specialized software. Formatting, particularly a "full format," overwrites these sectors, rendering previously stored data virtually unrecoverable. This is vital when disposing of a drive, donating it, or simply ensuring sensitive information cannot be retrieved by unauthorized individuals. Cybersecurity experts consistently recommend a full format for drives containing sensitive data before transfer or disposal, citing its effectiveness in preventing data breaches and complying with data protection regulations such as GDPR or HIPAA.
Thirdly, it is essential for optimizing drive performance and stability. Over time, a drive can accumulate "ghost files," fragmented data, or even hidden malware. Formatting wipes out these latent issues, clears any malicious software that might be lurking in unindexed sectors, and aligns the drive’s structure for peak efficiency. Industry best practices suggest that even a drive from which all visible files have been deleted should be formatted before reuse to ensure optimal stability and to mitigate potential hidden threats. A drive that has been frequently written to and deleted from without formatting can experience increased fragmentation, leading to slower read/write speeds.
Finally, and perhaps counter-intuitively for some, brand new drives also benefit significantly from formatting. Manufacturers configure USB drives, particularly flash drives from popular brands like SanDisk or Kingston, with file systems designed for broad compatibility, often the older FAT32 format. While universally recognized, FAT32 comes with severe limitations, most notably its inability to handle single files larger than 4 gigabytes. For modern use cases involving high-definition video (a single 4K movie can easily exceed 4GB), large software installations (many contemporary games are tens of gigabytes), or extensive game files, this limitation makes FAT32 impractical. Formatting a new drive allows users to select a more appropriate, contemporary file system tailored to their specific needs and computing environment, thereby unlocking the drive’s full potential from the outset.
A Brief History and Evolution of File Systems
To understand the choices available during formatting, it’s beneficial to grasp the historical context and technical evolution of file systems. These systems dictate how data is stored, retrieved, and organized on a storage medium, influencing compatibility, performance, and feature sets.
The earliest widely adopted file system was FAT (File Allocation Table), introduced by Microsoft in the early 1980s. Its simplicity made it highly compatible across various operating systems and devices. As storage capacities grew, FAT evolved into FAT16 (supporting partitions up to 2GB) and then FAT32 in 1996 with Windows 95 OSR2. FAT32 addressed the limitations of FAT16 by supporting much larger partition sizes (up to 2 terabytes) but retained the significant drawback of a 4GB maximum file size. Despite its age, FAT32’s ubiquity on older hardware, car stereos, and some gaming consoles means it still appears as a formatting option, primarily for legacy compatibility. However, its proneness to fragmentation and lack of modern features like journaling (which helps recover from system crashes) make it a poor choice for contemporary computing.
In 1993, Microsoft introduced NTFS (New Technology File System) with Windows NT 3.1. Designed from the ground up for robustness and security, NTFS became the default file system for Windows internal hard drives. It brought revolutionary features such as journaling, file-level security permissions (Access Control Lists), disk quotas, transparent compression and encryption, hard links, symbolic links, and volume shadow copies for robust error recovery. Its advanced capabilities make it ideal for the primary operating system drive and other internal drives in a Windows-exclusive environment, ensuring high data integrity and administrative control. However, NTFS’s proprietary nature means it has limited native compatibility with non-Windows operating systems; macOS can typically read NTFS drives but not write to them without third-party software, and Linux often requires specific drivers for full read/write access.
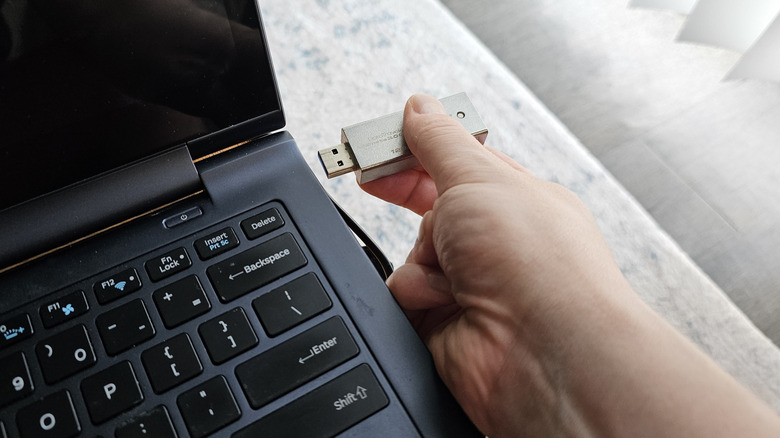
Recognizing the need for a file system that combined the cross-platform compatibility of FAT32 with the large file support of NTFS, Microsoft developed exFAT (Extended File Allocation Table). Introduced in 2006, exFAT was specifically designed for flash memory devices like USB drives and SD cards. It removed the 4GB file size limit of FAT32 and supported significantly larger partition sizes (up to 128 petabytes), making it suitable for modern high-capacity portable storage. Crucially, exFAT gained broad support across Windows, macOS, and Linux, as well as many smart TVs, media players, and Android devices, establishing itself as the de facto standard for portable storage requiring cross-platform interoperability. While it lacks the journaling and advanced security features of NTFS, its balance of compatibility and performance makes it an excellent choice for USB drives used in diverse computing ecosystems.
Choosing the Optimal File System for Your USB Drive
The decision of which file system to choose during formatting is critical and depends entirely on your intended use case for the USB drive.
-
NTFS (New Technology File System): The Windows Powerhouse
If your USB drive will be used exclusively with Windows systems—whether desktop PCs, laptops, or servers—NTFS is the superior choice. Its robust feature set, including journaling for enhanced data recovery, file-level encryption, compression, and detailed security permissions, makes it highly reliable and secure within the Windows ecosystem. For instance, if you plan to use the USB drive to transfer large application installers, backup Windows system images, or store sensitive corporate data that requires Windows’ integrated security features, NTFS provides the most comprehensive solution. However, be acutely aware of its limited native write support on macOS and some Linux distributions, which can lead to frustration if you frequently switch between operating systems. -
exFAT (Extended File Allocation Table): The Universal Traveler
For users who need maximum flexibility and plan to use their USB drive across multiple operating systems—such as Windows, macOS, Linux, Android phones, smart TVs, or game consoles—exFAT is the undisputed champion. Its primary advantage lies in its ability to support files larger than 4GB, making it perfect for storing 4K videos, large compressed archives, extensive photo libraries, or hefty virtual machine files. While it foregoes the advanced journaling and security features of NTFS, this simplification contributes to its broad compatibility and often slightly faster performance on flash memory devices. For anyone seeking a versatile portable storage solution that seamlessly integrates into a multi-device lifestyle, exFAT is the definitive recommendation. -
FAT32 (File Allocation Table 32): The Legacy Lifeline
FAT32, despite its age, retains a niche utility. Its unparalleled compatibility with older devices—think car stereos, ancient printers, specific legacy gaming consoles (like PlayStation 3, Xbox 360), or older embedded systems—makes it a necessary evil in certain scenarios. If your primary goal is to transfer a small collection of music files to a decades-old car stereo, or to update firmware on an older piece of hardware, FAT32 might be your only viable option. However, its critical limitations, including the infamous 4GB single file size limit and its propensity for file fragmentation, render it largely unsuitable for modern data storage requirements. Windows 11, in particular, may exhibit compatibility quirks depending on the specific application, making it a last resort for most users.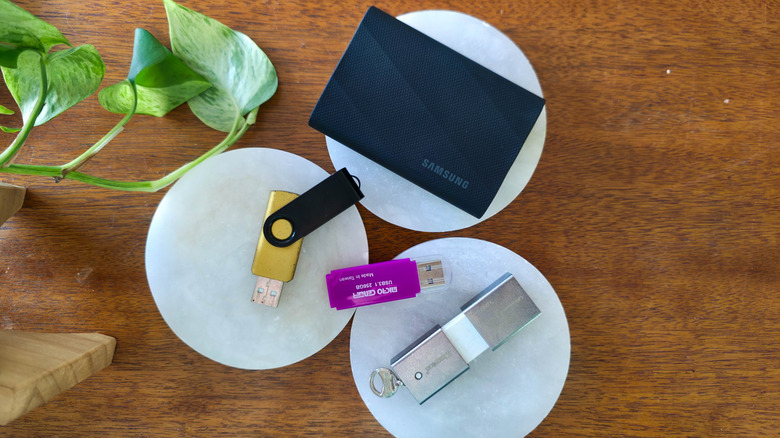
Preparing for the Format: Essential Pre-Steps
Before initiating the formatting process, several crucial preparatory steps must be taken to ensure data safety and a smooth operation:
- Backup All Essential Data: This is the most critical step. Formatting will erase all data on the drive. Double-check, triple-check, and then check again that any files you wish to keep have been successfully backed up to another location, such as your computer’s internal drive, an external hard drive, or cloud storage. Once formatted, data recovery is challenging, if not impossible, especially after a full format. Numerous IT support forums report countless incidents of accidental data loss due to users skipping this vital step.
- Close All Applications Using the Drive: Ensure no programs are actively accessing files on the USB drive. This includes file explorers, media players, document editors, or backup software. An active process can prevent the format operation from completing, leading to error messages like "Windows was unable to complete the format" or "The device is in use."
- Identify the Correct Drive: Windows Explorer typically assigns drive letters (e.g., D:, E:, F:). Carefully verify that you have selected the correct drive for formatting. Accidentally formatting an internal hard drive or another external storage device can lead to catastrophic data loss. Pay close attention to the drive’s name, capacity, and contents (if visible) to confirm its identity. This due diligence can prevent hours of frustration and potential data recovery costs.
- Plug into a High-Speed USB Port: For optimal speed and stability during the formatting process, connect the USB drive to a high-speed USB 3.0 or 3.1 port on your computer, if available. While not strictly necessary, it can expedite the process for larger drives, reducing the overall time, especially for a full format.
Step-by-Step Guide: Formatting Your USB Drive on Windows
The actual process of formatting a USB drive on Windows is straightforward once the preparatory steps are complete.
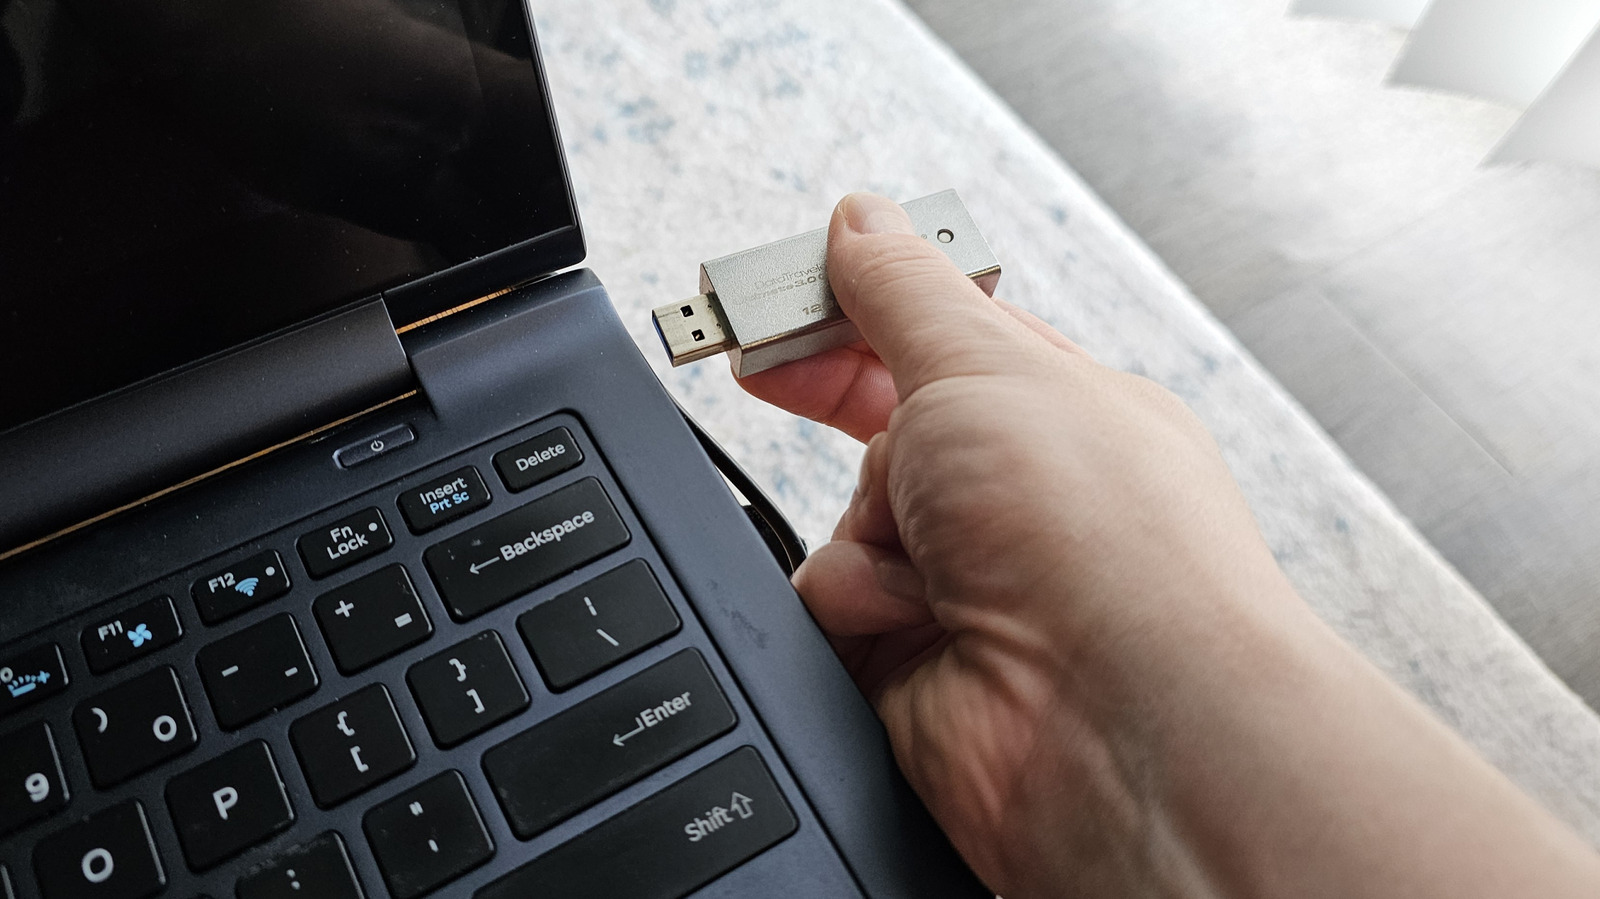
- Connect Your USB Drive: Insert the USB storage device into an available USB port on your Windows computer. Wait a few moments for Windows to recognize and mount the drive.
- Open File Explorer: Navigate to "This PC" (formerly "My Computer") by clicking on the folder icon in your taskbar or pressing
Windows key + E. - Locate and Select Your Drive: In the left-hand navigation panel of File Explorer, click on "This PC." On the right-hand side, you will see a list of your connected drives. Identify your USB drive. It will typically appear under "Devices and drives" and might be labeled "Removable Disk" or by its manufacturer’s name, followed by a drive letter (e.g., "USB Drive (E:)").
- Initiate the Format Process: Right-click on your identified USB drive. From the context menu that appears, select "Format…" This will open the Windows formatting tool window, often titled "Format [Drive Letter]:".
- Configure Formatting Options:
- Capacity: This field displays the total storage capacity of your drive. It is usually read-only and serves as a final confirmation that you’ve selected the correct drive.
- File system: This is the most crucial selection. Use the dropdown menu to choose your desired file system:
- NTFS: If the drive will be used exclusively with Windows.
- exFAT: If the drive needs cross-platform compatibility (Windows, macOS, Linux, Android, etc.) and supports large files.
- FAT32: Only if absolute legacy compatibility with older devices is a strict requirement and you don’t need to store files larger than 4GB.
- Allocation unit size: This refers to the cluster size, the smallest block of disk space that Windows can allocate to a file.
- Default allocation size: For most users, leaving this set to "Default allocation size" is recommended. Windows will choose an optimal size based on the drive’s capacity and selected file system (e.g., 32KB or 128KB for exFAT on larger drives).
- Customizing: If you have a specific use case, you can adjust this. A larger allocation unit size can improve performance for very large files (e.g., video editing, gaming libraries) by reducing the number of blocks the system needs to manage, but it can waste space for many small files. Conversely, a smaller allocation unit size can save space if you plan to store a vast number of very small files (e.g., text documents, small code snippets) by minimizing "slack space" (unused space within the last cluster of a file). However, misconfiguring this can lead to inefficiencies.
- Volume label: This allows you to assign a custom name to your USB drive (e.g., "My USB Drive," "Backup Drive," "Project X"). This makes it easier to identify the drive in File Explorer.
- Format options:
- Quick Format: This option is usually checked by default. A quick format simply